Exporting your design
Download your sign as print-ready files and understand what's in the ZIP.
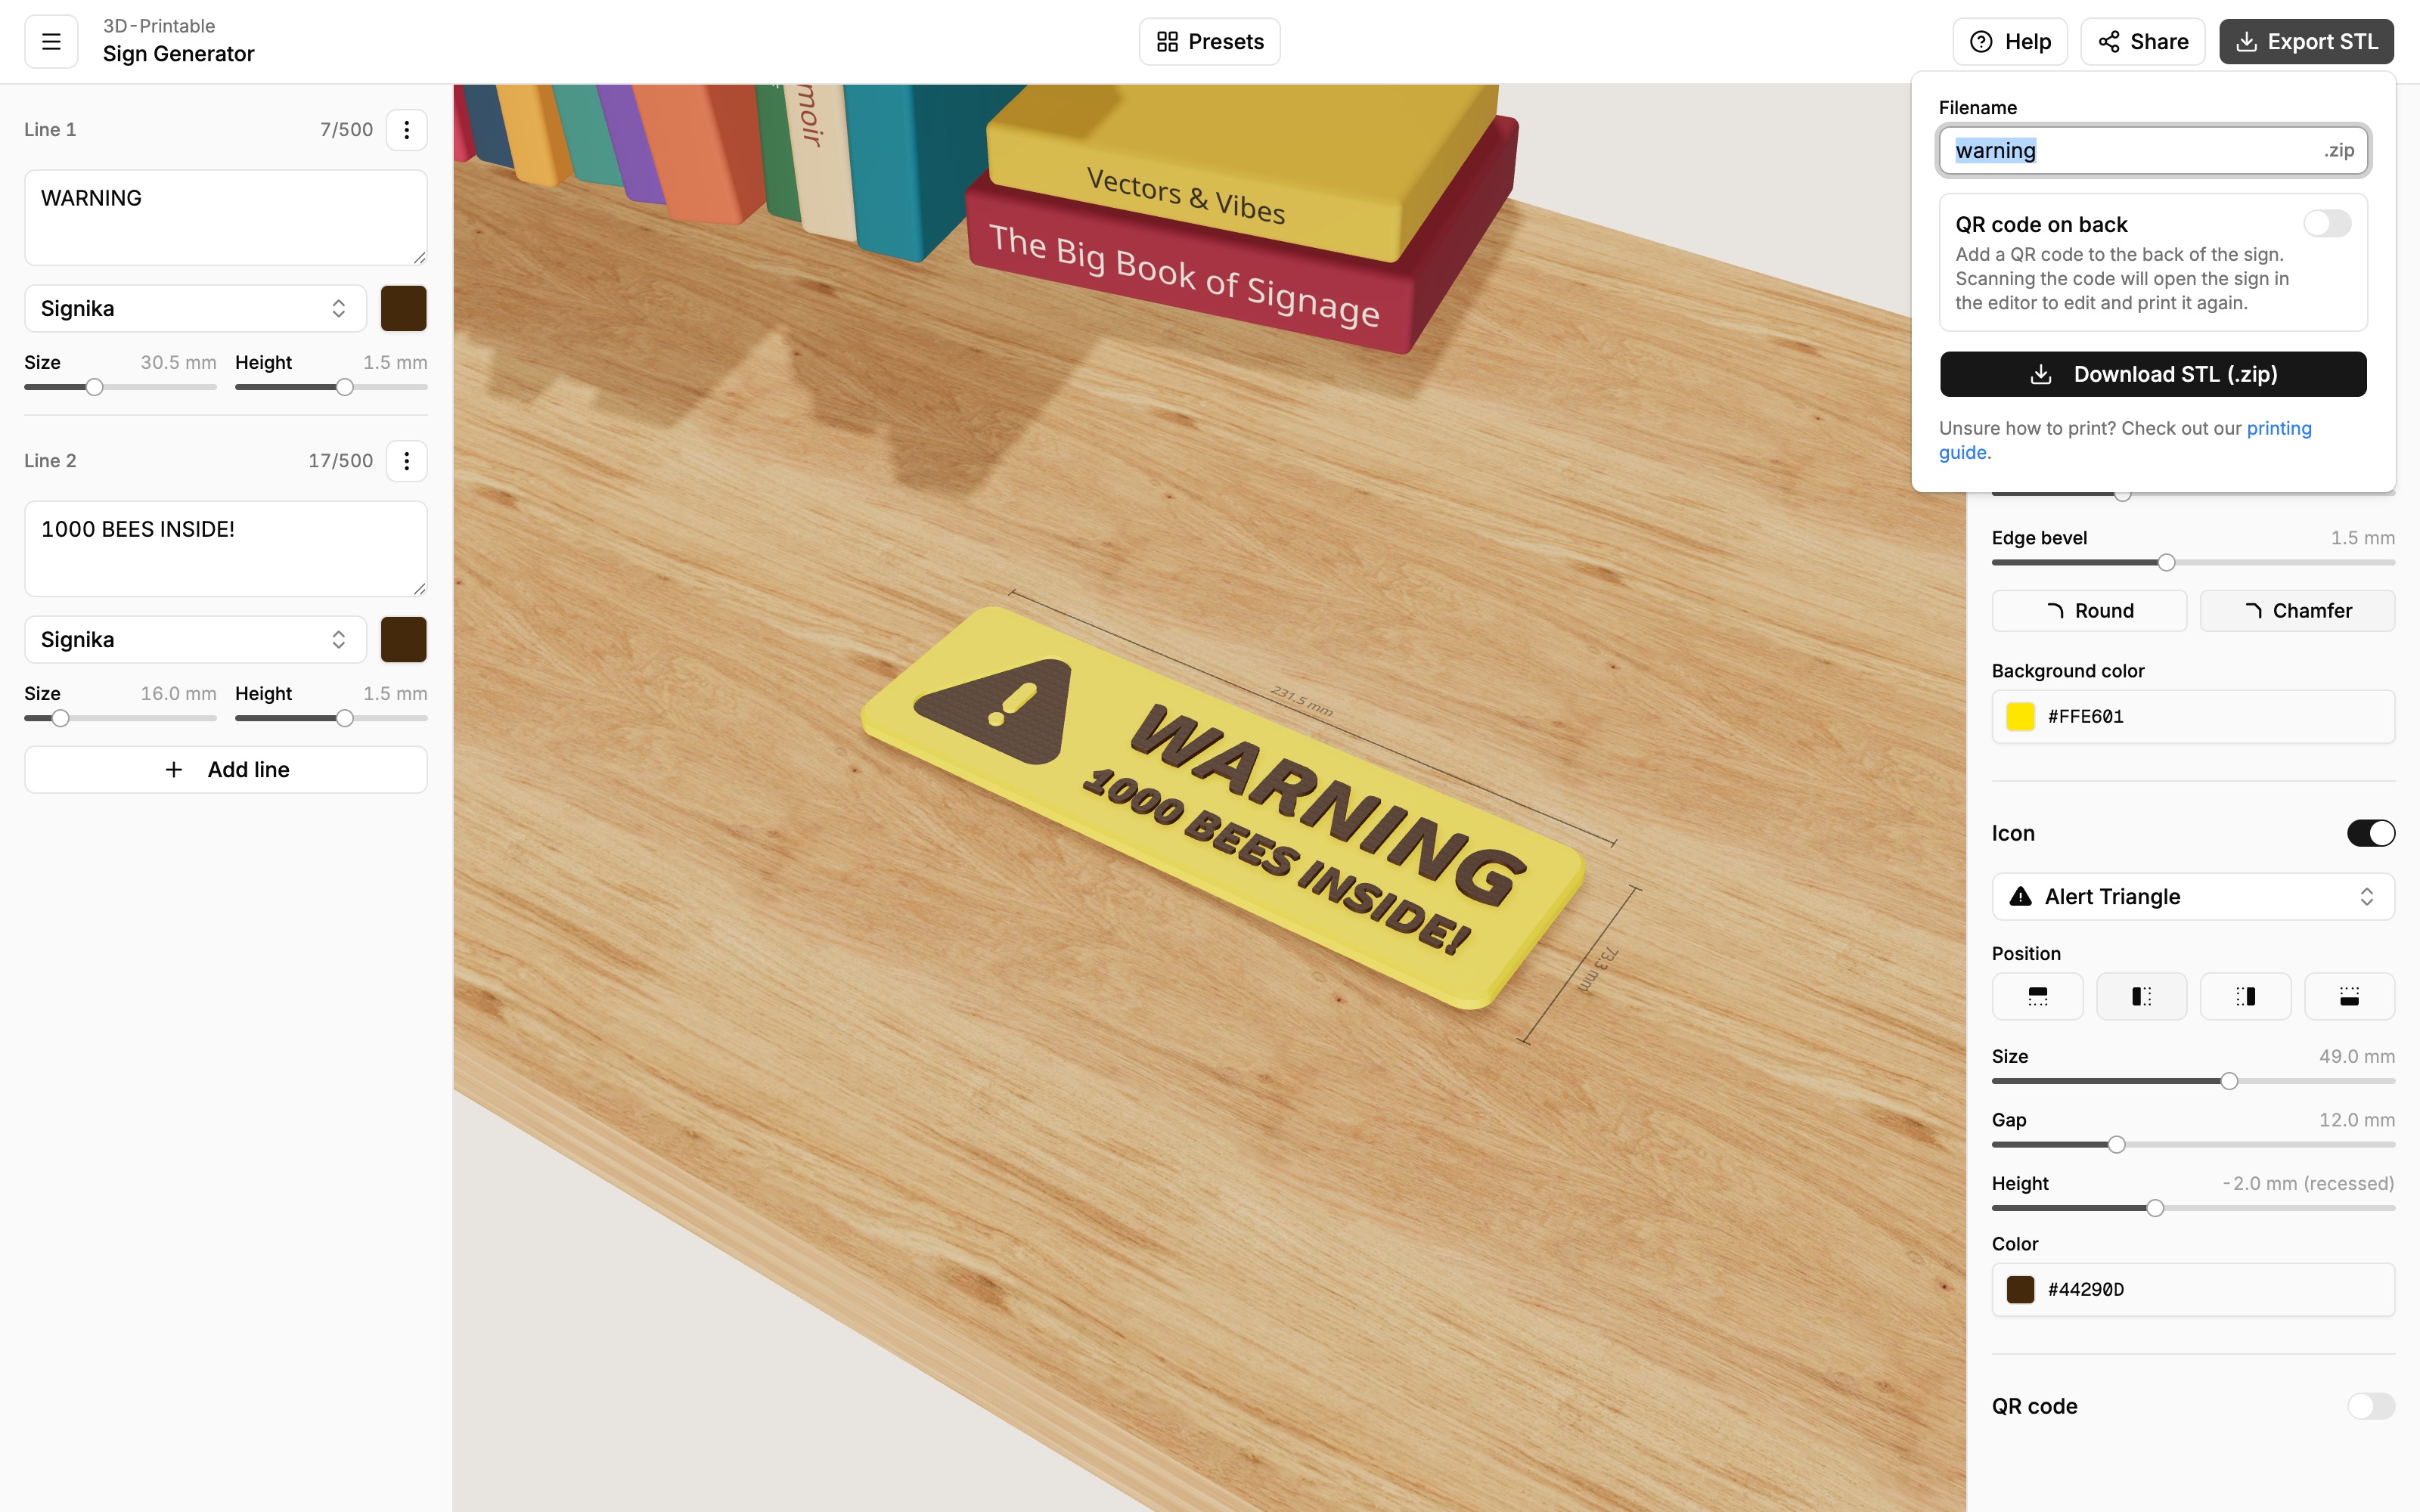
When your sign looks right in the preview, click Export STL at the top right of the editor.
The export options
- Filename — what the downloaded file will be called. It's pre-filled from your sign's text.
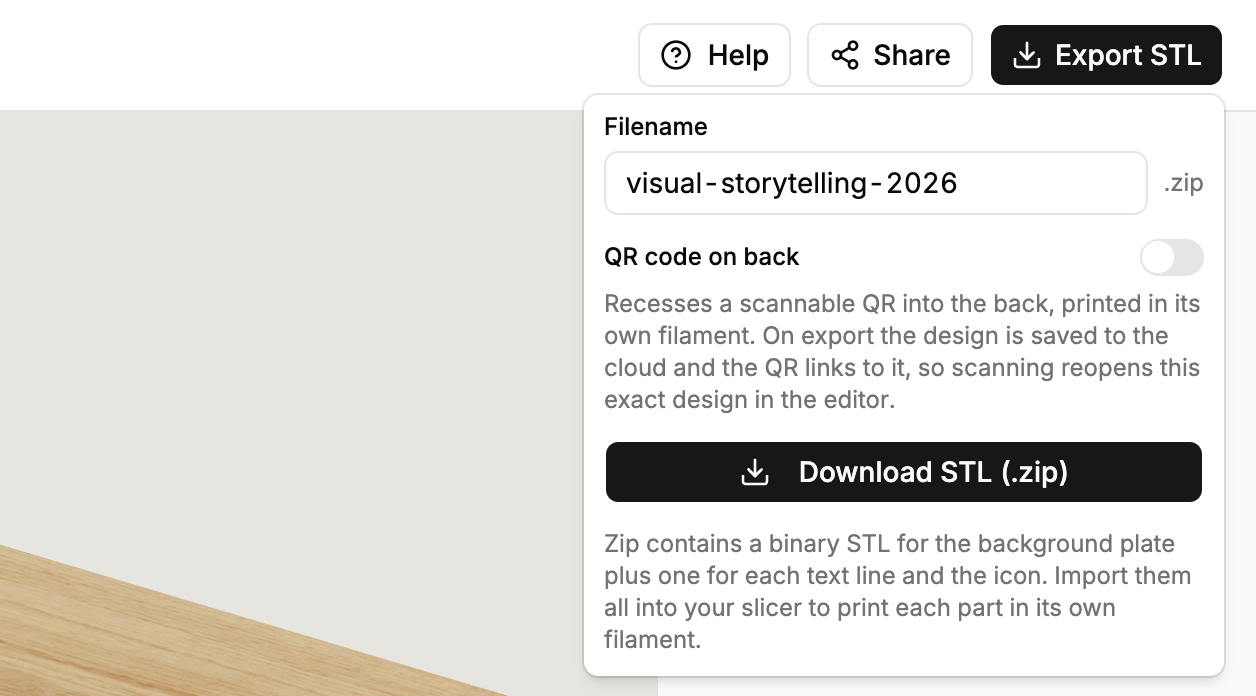
- QR code on back — adds a small QR code to the back face of the sign. Scanning it reopens this exact design in the editor, so the sign can be reprinted or edited later — even by someone who only has the physical sign. Turning this on stores your design online so the code has something to link to (see Saving & sharing).
Then click Download STL (.zip).
If the back QR can't be added
On very small or very thin signs there isn't enough room for a scannable code, and the editor will tell you so. And if the design can't be stored online at export time, your files still download normally — just without the QR code on the back.
What's in the ZIP
STL is the standard file format for 3D printing — every slicer and print service accepts it. Your ZIP contains one STL file per part of the sign, each positioned at exactly the right spot and height:
yoursign-background.stl— the sign's plate.- one numbered file per text line, named after its text — e.g.
yoursign-01-warning.stl. - a file for the icon and/or QR code, if your sign has them.
Splitting the sign into parts is what makes multi-color printing easy: in your slicer you import all the files together as a single object and give each part its own filament color.
Next step: print it
The printing guide walks through importing the files, assigning colors and slicing — with screenshots from Bambu Studio, but the steps are similar in any slicer.