Sign shape & size
Control the sign's size, corners, thickness, edges and background color.
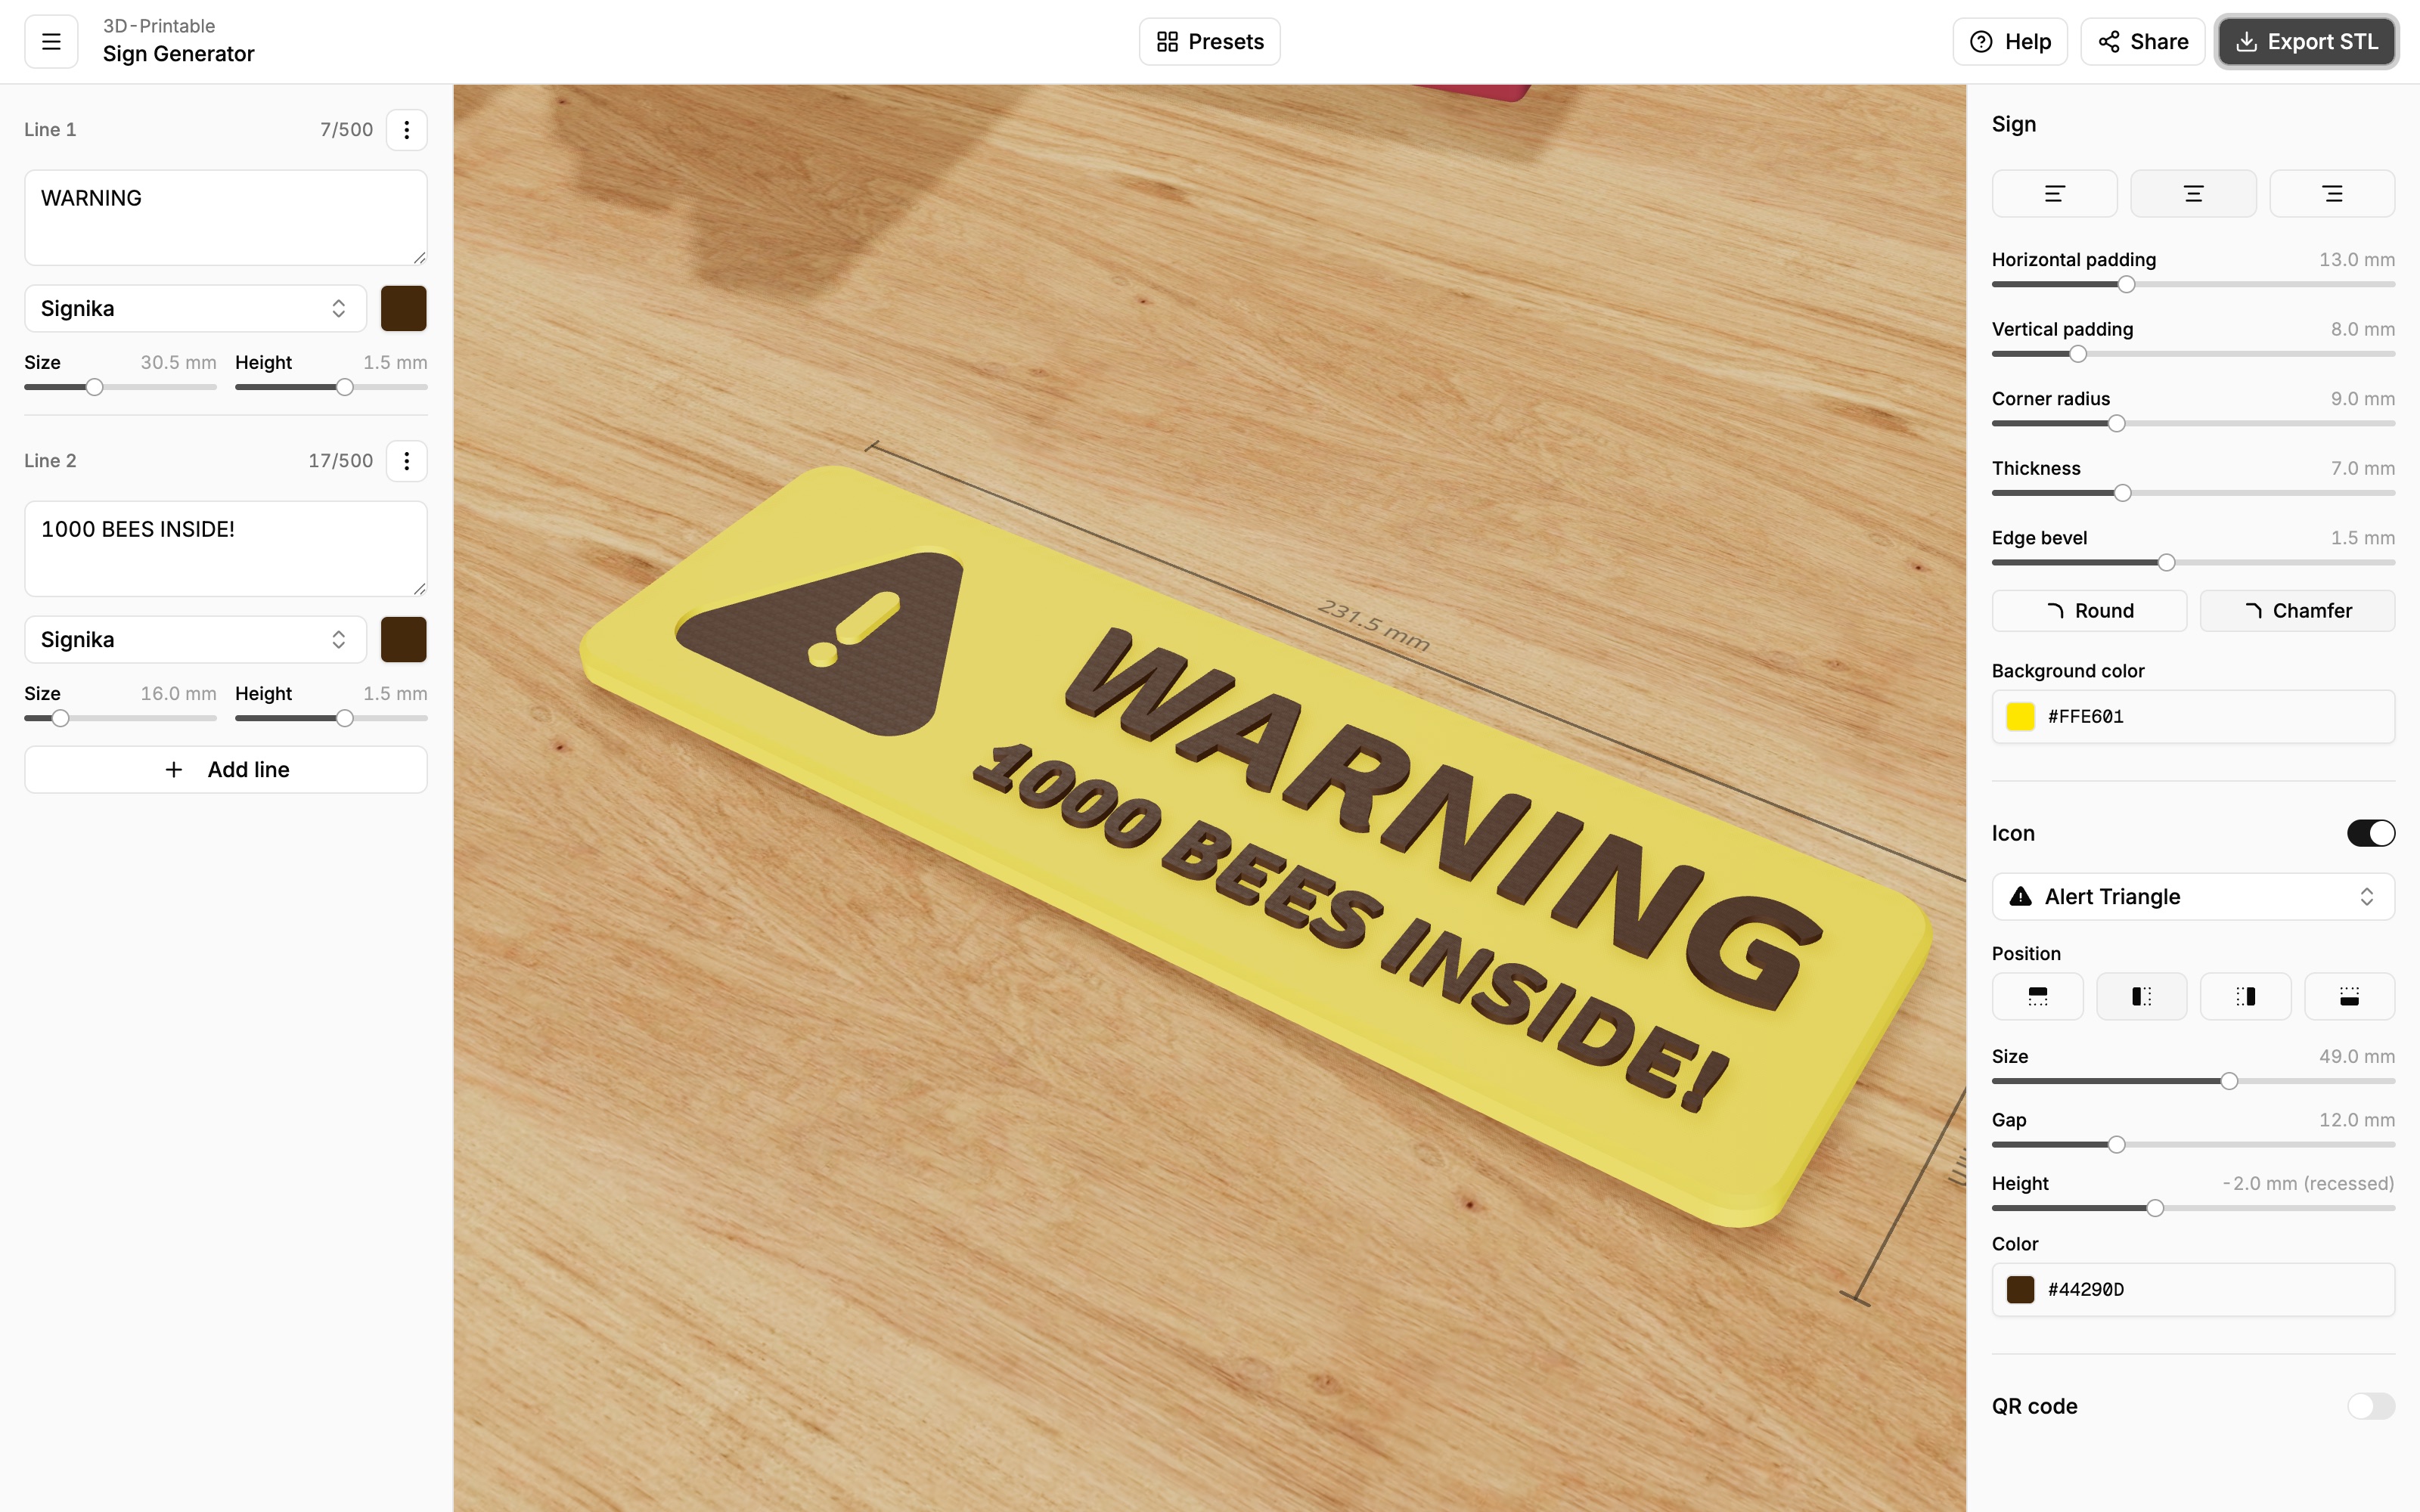
The Sign section at the top of the right panel controls the plate your text and icons sit on — its proportions, corners, thickness, edge profile and color.
The sign sizes itself
There is no width or height setting: the sign automatically wraps around your content. Bigger text, more lines, a larger icon or more padding all make the sign bigger; the sign never crops or squeezes your design.
The faint measurement lines around the sign in the 3D preview always show the current real-world width and height. To hit a specific size:
- Watch the measurement lines while you adjust things.
- Use the text Size sliders to scale the content.
- Use padding (below) to fine-tune the margins.
Alignment
The three buttons at the top align your text lines (and stacked icons) to the left, center or right of the sign.
Padding
Horizontal padding and Vertical padding set the empty margin between your content and the edge of the sign. More padding makes the sign look calmer and gives screws or adhesive strips somewhere to go; less padding makes a compact label.
Corner radius
Rounds the sign's corners — from perfectly sharp (0) to fully rounded. A few millimeters of rounding usually looks friendlier and is less likely to lift off the print bed at the corners.
Thickness
How thick the sign's body is, front to back. Thicker signs feel more substantial but use more material and take longer to print.
Edge bevel
The bevel softens the outer top and bottom edges of the sign. Choose the size of the bevel with the slider and pick a profile:
- Round — a smooth, curved edge.
- Chamfer — a flat, 45° cut edge.
Set the slider to 0 for sharp, square edges.
Background color
The color of the sign's plate. Together with the per-line and icon colors this defines the color scheme of your print — each color you use becomes a separate file when exporting, so you can assign each one a different filament.
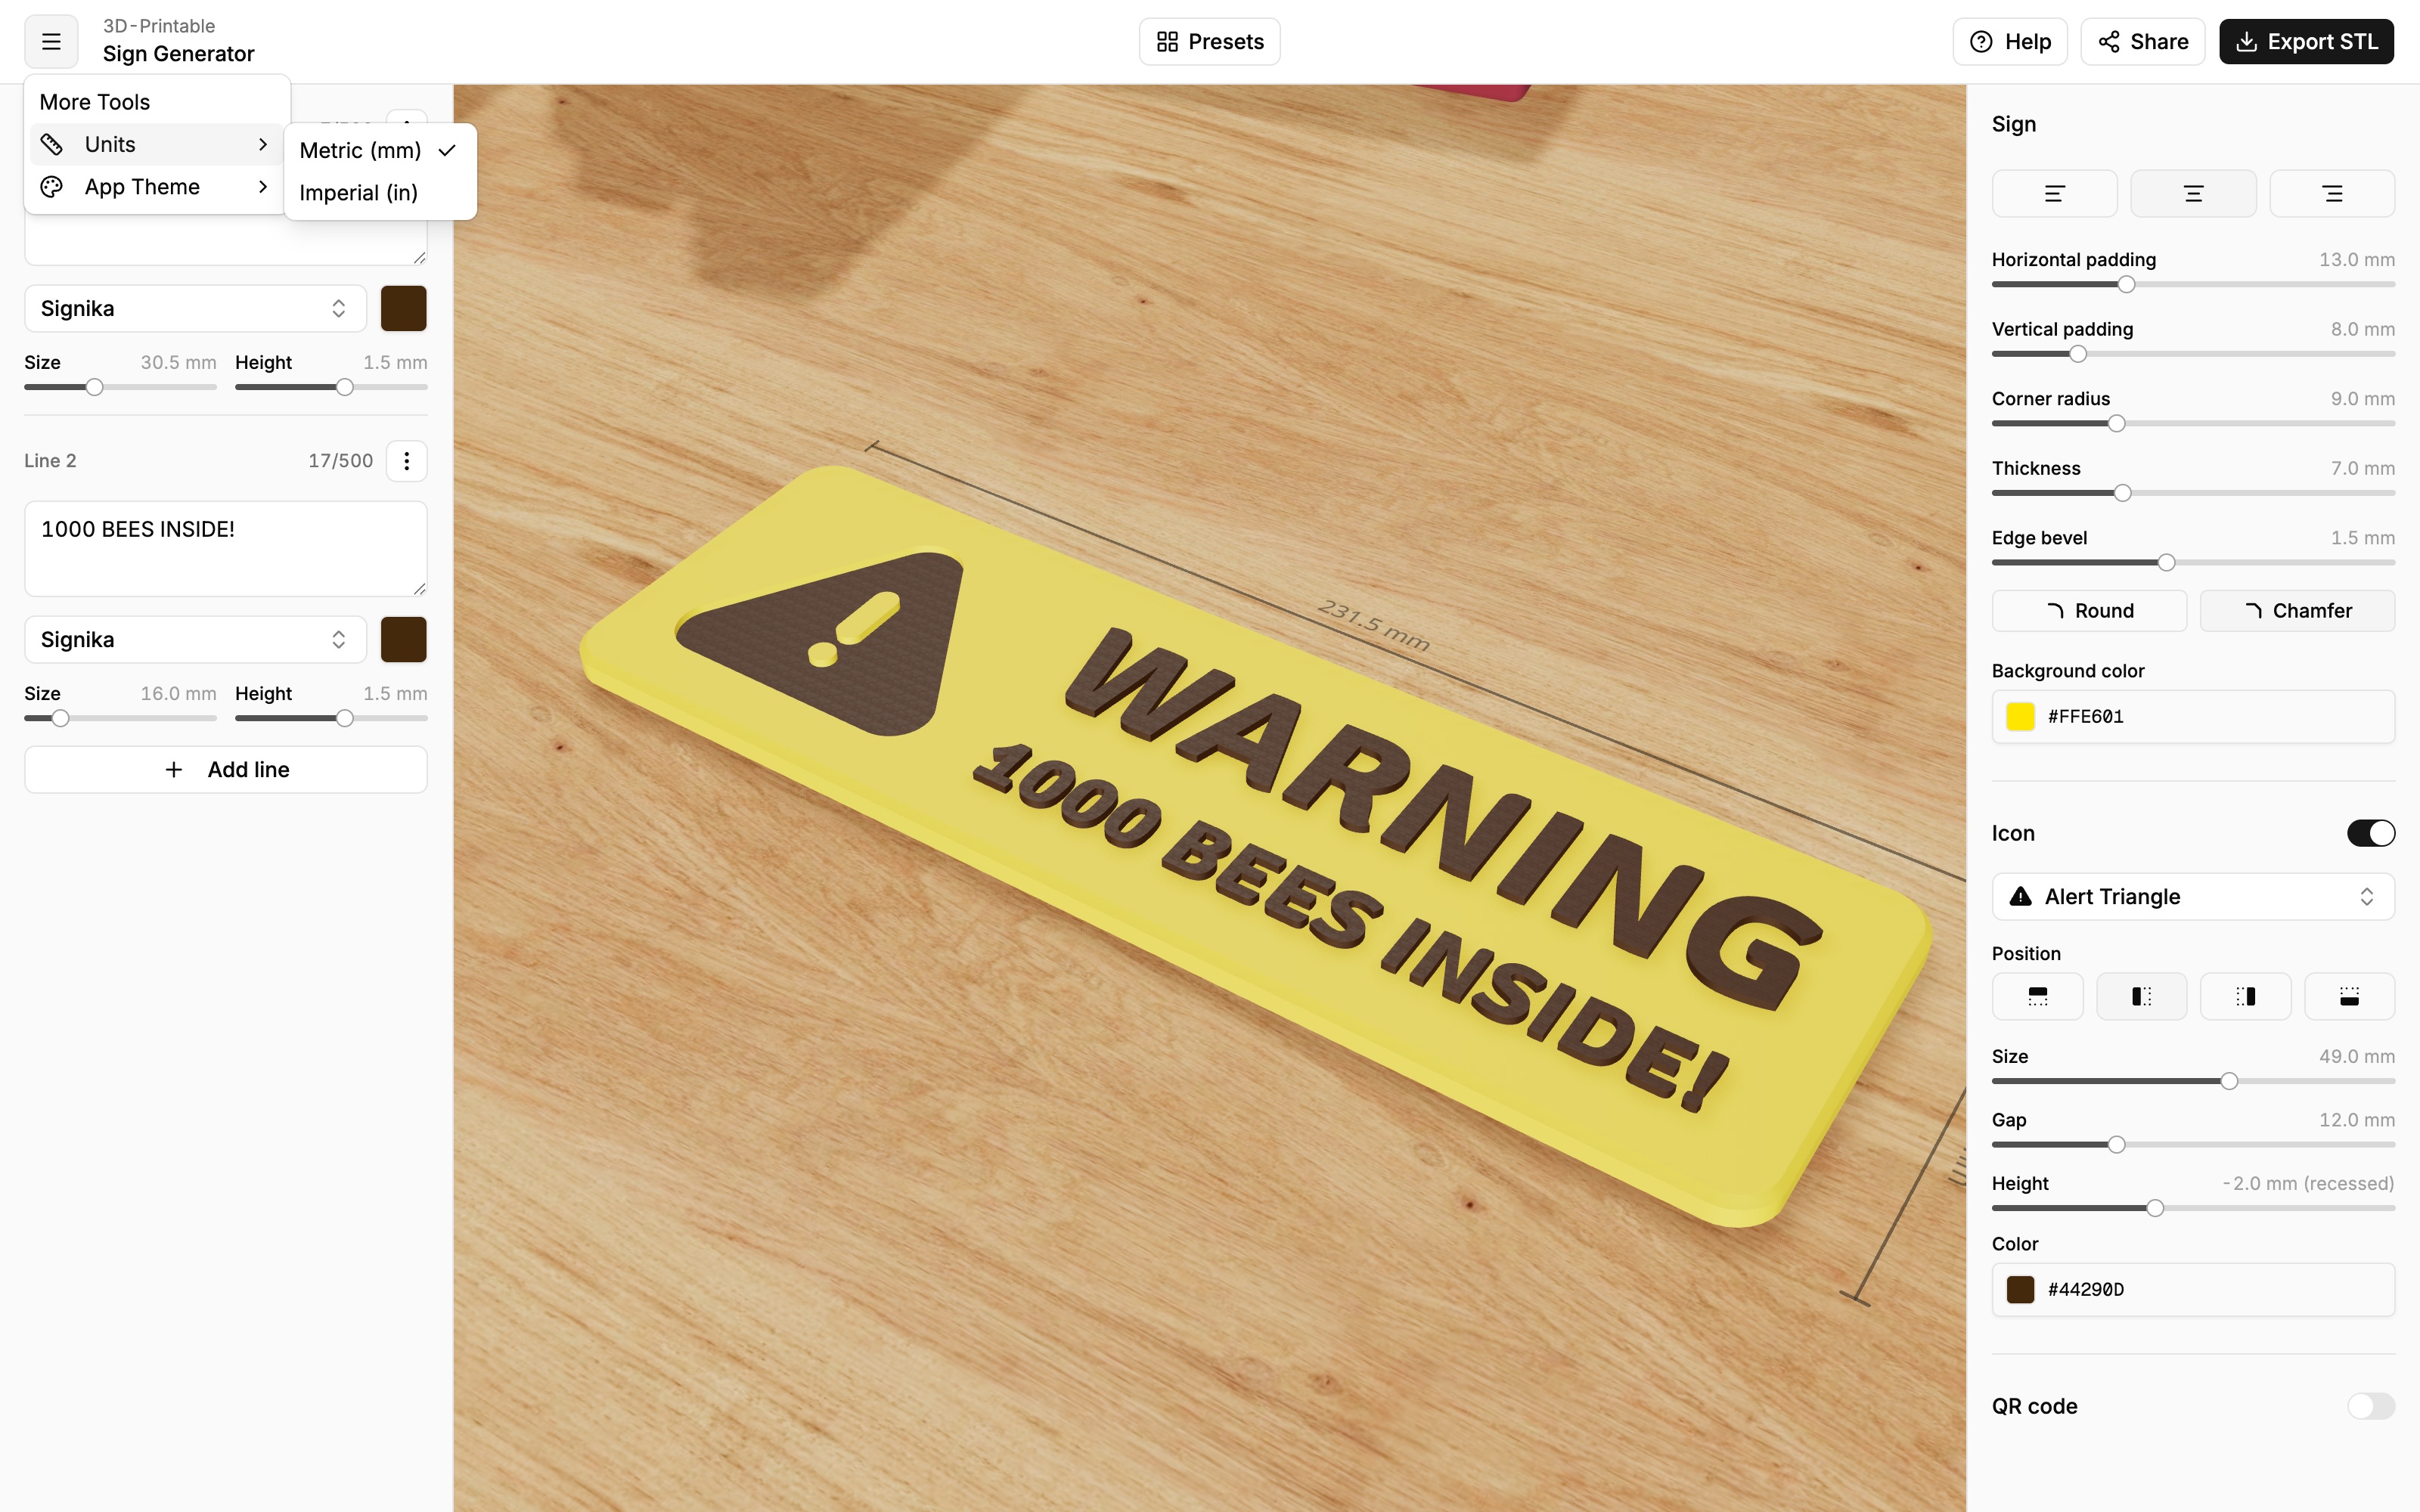
Millimeters or inches
All measurements are shown in millimeters by default. To switch to inches, open the ☰ menu at the top left and choose Units → Imperial (in). This only changes how numbers are displayed — your design stays exactly the same size.